Share

WoWPencils'S Podcast
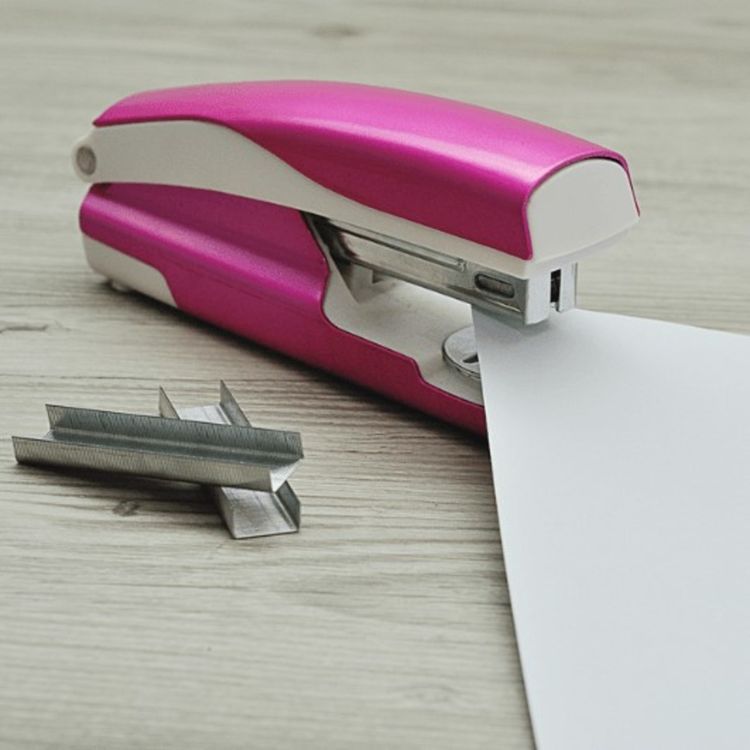
Quality Manual Staplers for Use at Home and Office
A stapler is an essential stationery that can be found on each office desk and at home to stitch an accounting report or for handicrafts. Using a high-quality instrument is a good and nice experience because you won’t feel frustrated in case of its occasional malfunction.
The extended review https://wowpencils.com/best-staplers/ will help you find the best stapler from trusted and affordable brands to never be distressed with. You will also learn a lot of cool facts that you probably don’t know about this tool.
Timestamp
0:34 Rated List of Top Staplers to Use
1:46 Guide for Choosing High-Quality Stapler
4:30 FAQ
4:51 What Is a Stapler?
5:07 What Is a Stapler Used For?
5:32 How Does a Stapler Work?
6:20 What Is a Flat Clinch Stapler?
6:32 Types of Staplers
7:33 What Are Length and Weight of Stapler in Average?
8:02 How Many Pages Can a Stapler Staple?
8:24 Most Interesting Facts
8:37 Who Invented the Stapler?
9:06 What Type of Simple Machine Is a Stapler?
9:26 Why Do Staplers Have Two Settings?
9:52 Giant Staple Mosaic of Mother Teresa
10:18 What Other Names of Stapler Are There?
10:28 How Many Staplers Are Sold Each Year?
10:44 How Many Parts Does Stapler Consist of?
10:55 Few Last Words
More episodes
View all episodes

Easy Tips on How to Draw Tears in Eyes
05:12|To depict realistic teardrops will not be a problem anymore. Here https://wowpencils.com/how-to-draw-tears/ is a simple tutorial about how to draw tears in eyes. It reviews the necessary art utensils and offers step-by-step instructions of the process. The technique takes little time and requires some patience, but it ensures the amazing true-to-life result. Timestamp 0:27 Important Utensils for This Drawing 0:57 Step 1: Begin with Upper Eyelids 1:42 Step 2: Add Eyelashes and Lower Eyelids 2:30 Step 3: Eyebrows and Circles of Eyes 3:22 Step 4: Drawing Tears in Eyes 3:55 Step 5: Make Eyes Realistic 4:32 Step 6: Hatchwork 4:46 Conclusions
Good Correction Tapes Brands in 2020
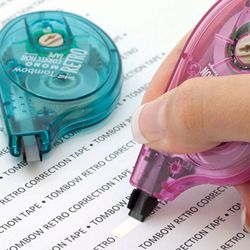
16:04|There is no need to be afraid of making mistakes in a document written with a pen or a marker. The invention of a correction tape solves the problem by a discreet removal of unwanted marks on paper. Read the review https://wowpencils.com/best-correction-tapes/ to discover the best correction tape on the market. The famous and reliable brands guarantee you get a quality product that is comfortable to use. You will also find a helpful purchase guide and expert answers to the most common questions from users. Timestamp 0:35 Tombow MONO Original Tape: Best for Instant Correction 2:09 Mr. Pen Correction Tapes: Perfect Colored Set 3:25 Tombow MONO Hybrid: Good Ergonomic Correction Tape 4:36 Staples: the Smoothest Rolling Correction Tape 5:33 Paper Mate® Liquid Paper DryLine® Grip: Finest Coverage 6:26 Tombow MONO Mini: Great Break-Proof Tape 7:20 BIC® Wite-Out® EZcorrect Tape: Easiest to Use 8:29 BIC® Wite-Out® Mini: Top Compact Correction Tape 9:20 Emish: Best with Long-Lasting Correction Tape 10:16 SKKSTATIONERY: Cool Correction Tape for Office 11:15 Guide for Buying 13:05 FAQ 13:21 What Is Correction Tape? 13:36 How Does Correction Tape Work? 13:59 How to Use Correction Tape? 14:20 How to Remove Correction Tape from Paper? 14:32 How to Fix BIC Wite-Out Correction Tape? 15:15 How to Rewind BIC Wite-Out Correction Tape? 15:32 In Closing
How to Draw Smoke Easy - Step-by-Step Tutorial
04:23|If you want to try a new art challenge and create something more complicated on paper, this post – https://wowpencils.com/how-to-draw-smoke/ will teach you how to draw smoke. The tutorial explains which instruments you need to draw realistic smoke with pencil and offers step-by-step instructions on how to make your drawing look professional. Actually, this technique is an easy thin so that any beginning artist can handle it. Check it out! Timestamp 0:33 Necessary Instruments 0:59 Step 1: Basis of Smoke 1:23 Step 2: Add Few Wisps of Smoke 1:50 Step 3: Shading Main Streams 2:20 Step 4: Draw Swirling Smoke in Upper Part 2:48 Step 5: Additional Hatchwork 3:17 Step 6: Finishing Details 3:54 Sum Up