
Latest episode

89. Doc Vernon
39:50||Ep. 89One of the defining features of the Kokoda Campaign was undoubtedly the native carriers who carried supplies forward and wounded men back. Much is made of their contribution, and rightly so, but without the efforts of Doc Vernon to improve conditions and care of the carrier force it is debatable whether they could or would have carried on their efforts. Not only did Doc take care of the carriers, but when he became aware that the 39th Militia Battalion would be facing the Japanese onslaught at Kokoda Village, he immediately went forward and offered his services to the Commander of the 39th, a man he would soon be operating on under lamplight while under Japanese fire.https://www.australianmilitaryhistorypodcast.com/https://www.patreon.com/c/u46029761?view_as=patron&vanity=u46029761
More episodes
View all episodes
Author Interview - Peter Mitchell
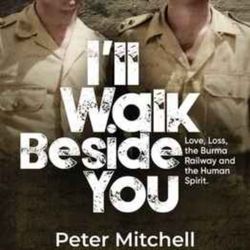
35:39|In this interview Peter Mitchell gives a detailed account of a little known event in Australia's military history - the fighting on Java in the opening weeks of the Pacific War. He also provides an insight into the benefits of creative non-fiction as a means of providing factual details about an event while also providing a good story for the readers.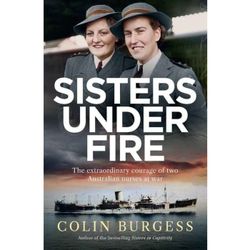
Author Interview
35:55|With the fall of Singapore imminent, all nursing staff were given orders to evacuate. Despite the protests of the nurses they boarded the evacuation ships. Those who boarded the Vyner Brook would suffering murder and imprisonment at the hands of the Japanese, but those aboard the other two ships, the Wasui and Empire Star were spared that horror. But that doesn't mean they got away safely. In this amazing book, Colin Burgess tells the story of two of the nurses onboard the Empire Star and their acts of heroism under Japanese air attack.patreon.com/u46029761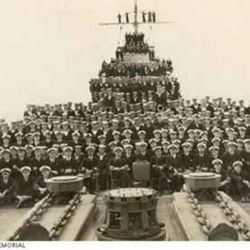
88. HMAS Perth (I)
41:27||Ep. 88Commissioned into the Royal Australian Navy on the eve of World War II, HMAS Perth (I) was the only RAN vessel in the Atlantic at the outbreak of war. She returned to Australia for a short period before serving in the Mediterranean, gaining praise for her crew's seamanship and accurate gunnery. Returning to Australia for repairs she was present at the outbreak of the Pacific War and was eventually assigned to waters surrounding the Dutch East Indies (Indonesia). It was here that she would meet her fate after an unexpected contact with the Japanese invasion fleet.https://www.australianmilitaryhistorypodcast.com/https://www.patreon.com/c/u46029761?view_as=patron&vanity=u46029761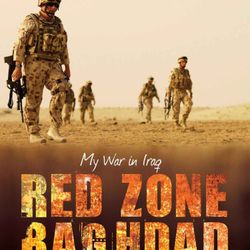
Interview - Marcus Fielding
59:02|Colonel Marcus Fielding spent nine months as an embedded Australian officer within the Coalition Forces Headquarters during the final stages of Australia's involvement in the Iraq War. He provides a fascinating insight into the day to day running of a major headquarters and the state of play in Baghdad as the Coalition commitment winds down. https://www.echobooks.com.au/books/red-zone-baghdad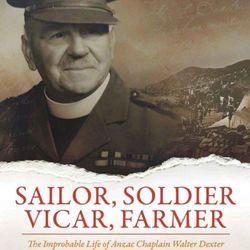
87. Walter Dexter - Military Chaplain
55:05||Ep. 87This episode we're looking at the work of the unsung heroes of every campaign which Australia has taken part in - the Military Chaplain. We're going to do this by focusing on Walter Dexter, who was as famous during World War 1 as Jacka or John Monash, but has been largely forgotten in the intervening years. I'm speaking with Professor Daniel Reynaud who has written a book on Walter Dexter's life, and trust me it's an absolute corker of a story. If you prefer, you can check out the video on Youtube by following the link below. https://youtu.be/U3NiyrKs6j8https://www.australianmilitaryhistorypodcast.com/https://www.patreon.com/c/u46029761?view_as=patron&vanity=u46029761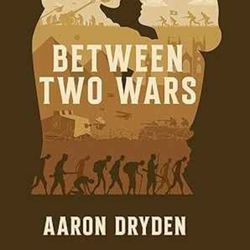
Interview - Aaron Dryden
33:24|In this bonus episode I interview Aaron Dryden about his book, Between Two Wars, based upon the story of his great grandfather's experiences through WW1 and WW2 and his eventual fate at the Sandakan Prisoner of War camp.https://www.amazon.com.au/Between-Two-Wars-Aaron-Dryden-ebook/dp/B0G441WXNS/ref=sr_1_1?crid=ET9QEE6JJB5U&dib=eyJ2IjoiMSJ9.5z7rjnDZolTUhGtW2Jt6CXjTo-YGA_D7Q06rXmD1xLWgjr45nzxvm9AAs2-XGwlQqeqVMH1EGAmm1P_KjXQHW3E3v9NLFlMt3RUEF1YjzlDu-e2ITxSGqV8r1YLRN8IKV5fJMJ2WUVIqbpD-NKlsKGvD4MeBnS7r0SvgnsSL7G6GyuD8csjciNzTvyS3c9cNxO3aOFBn0vl8AGd_2aABrKjOkHOzNBwfmAegeg3YW6I.nDW-kLhisdOHDawGNmL4CT6yCg4Qar1GPdm_--ugT6o&dib_tag=se&keywords=between+two+wars&qid=1774865043&s=books&sprefix=between+two+wars%2Cstripbooks%2C372&sr=1-1https://studio.youtube.com/channel/UCsCe3QTQr3MSY6xpQ5Lfqpw/videos/upload?filter=%5B%5D&sort=%7B%22columnType%22%3A%22date%22%2C%22sortOrder%22%3A%22DESCENDING%22%7D